This is the third post of Watercolor Technique series and in case you have to gone through the earlier two posts (watercolor wash technique and wet in wet watercolor technique) I highly recommend you do so as these techniques are prerequisite for learning glazing watercolour technique.
Glazing is a watercolor technique in which a layer of thin transparent paint is laid down over another layer of paint without disturbing it. Glazing is used for many purposes. You can use glazing to build up tones, adjust colors, mix colors on paper. You can also use glazing to get color depth and movement in your paintings.
Glazing Watercolor Technique
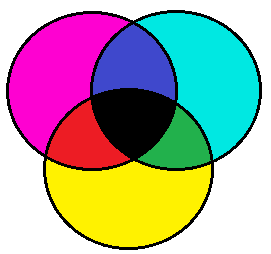
To understand glazing technique first you need to find out 2 to 3 different color glasses. It should not be transparent white. It should have some color. Red, yellow, Blue, Purple.. anything would do. Now take one glass and lay it over the other glass. What do you see? Light now passes through both the colored glasses creating a new color. What happens when you put two glasses of the same color on top of each other? The color seems darker. Glazing technique works exactly like these glass filters. In this watercolor technique you are creating micro thin filters of paint on top of one another. Lets now see how you do it.
- Take two pieces of watercolor paper; either rough or cold pressed (know more about watercolor paper here). Give a flat wash of any transparent blue color (suggestion – french ultramarine) on one of them and any transparent red color (suggestion – crimson) on the other.
- Let it dry completely. Its better to leave it for over an hour or so to dry. In humid conditions leave it overnight to dry. The idea is that the paint should dry well, so that when another layer of paint is applied on top of it, the original layer does not get disturbed. If the original layer is disturbed it will form mud. You can use a hair drier to dry the paint. But use the drier only after the paper has dried to touch, else you’ll be disturbing the pigments.
- Now on the blue color wash apply a layer of red color wash. Do it as softly as possible. If you apply any force on the paper through your brush, the pigments from the blue wash will get disturbed. Hence do it as softly as possible. Also do it as quickly as possible.
- On the paper with a red wash glaze over with blue paint. Let both the paper dry.
If you did you glazing correctly what you’ll end up with is two different shades of purple on both the papers. I hope by now you understand the analogy of color filters for glazing technique. Also you’ll see that on both the papers the shade of purple you get are different from each other. This difference is due to the difference in order of the color applied. When light bounces off the paper it goes through a blue filter and then a red filter in one case and in the other case it goes through a red filter first followed by blue filters. Hence in the first case you’ll see more of red in the purple while in the second case you’ll see more of blue.
Wet in Wet Watercolor Glazing
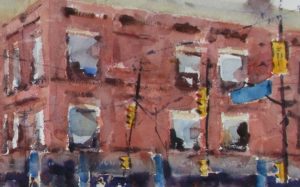
Glazing can also be done with wet in wet watercolor technique just like using wash technique described above. But you have to be extra careful about drying of the paint. The first layer of wet in wet wash should be completely crisp dry. Leave the paper for a day or two for the pigments to really stick to the paper. And this works well on rough paper only. Cold pressed paper may work to some extent. For the second layer wet in wet wash avoid using a brush to wet the paper. Its better to use a sprayer to wet the paper. This way you’ll minimize the chance of disturbing any pigment from the original layer of paint.
In wet in wet glazing it is very difficult to have anything more than 2-3 layers, while in glazing using wash technique you can have as many as 8-10 layers if done correctly.
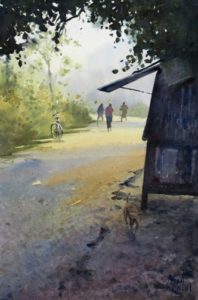
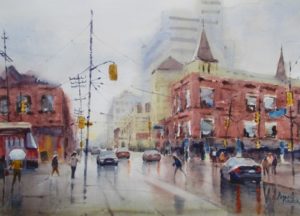
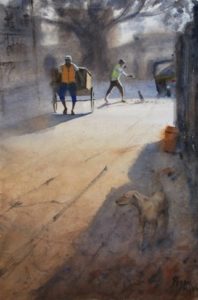
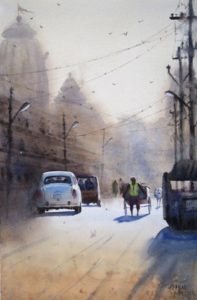
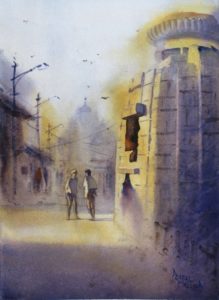
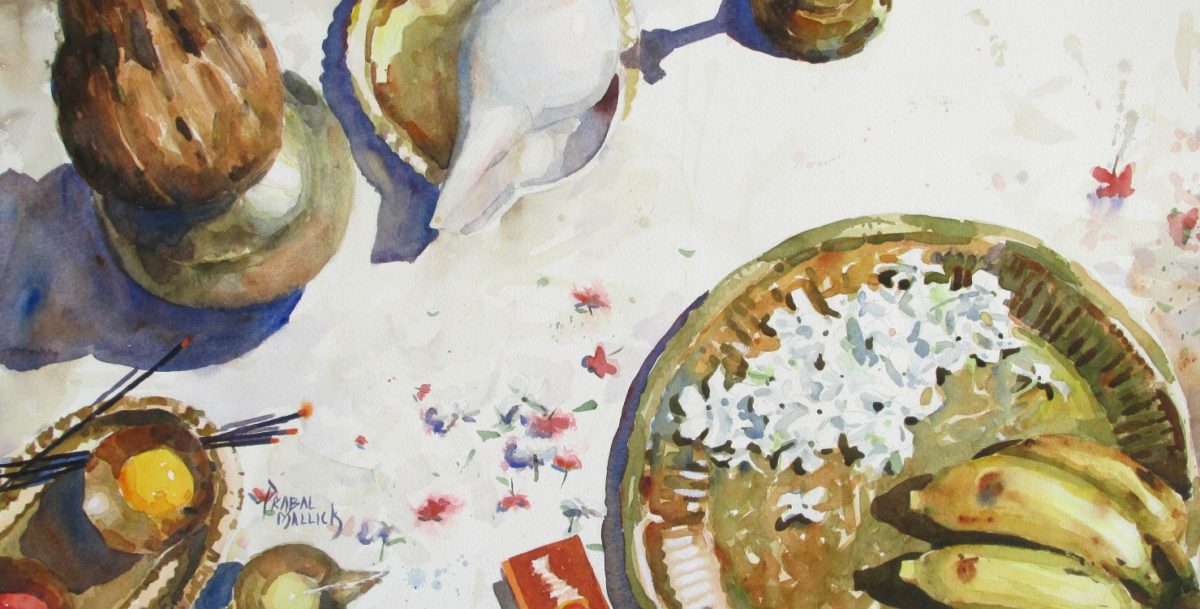
Glazing technique is a time consuming process as you have to wait for each layer to dry completely. But the result achieved through glazing is something that can not be produced in any other medium. A tone built up using 3-4 layers of glazes has more color depth and movement than a color of the same intensity laid down flat. I’ll leave you with a few of my works as examples where I have used glazing watercolor technique to achieve color depth and movement.

I wanted to thank you for this great read!! I definitely loved every little bit of it.
I’ve got you saved as a favorite to check out new stuff you post…